Sunday, December 14, 2014

2014: Agave Collection

This year could definitely be the year of the Agave. I tripled my collection! I really am getting into these guys, although they are very pointy and can be a pain to repot. 
 This is Agave americana. Yep, the Century Plant that blooms rarely and can get huge. I hope that mine will flourish and someday get to be one of those huge ones.
 This one is called Agave shawii. It is very spiny! The spines are kind of a reddish brown color.
 This is a closeup of the leaves on my Agave striata. These hurt a lot when they poke you! I've accidentally done it a few times and wow, these are sharp.
 This is what the whole Agave striata looks like. It's a fairly small plant right now but it has been making lots of new leaves.
 This is a closeup of some Agave stricta var. rubra that I have grown from seed. They are just a little over a year old now. The plant in the foreground is showing off the red color very nicely.
 Here's the entire pot of Agave stricta. Next month I'm going to repot them nicely because they're sprawling around a bit and looking silly.
 This is Agave titanopsis. Its spines are brown as opposed to the rest of the leaves. It's not as sharp and pokey as some of these other species I have.
And lastly, this is Agave victoriae-reginae var. compacta. As you can see, it has made lots of pups but they don't have the white coloring yet that the main plant does. This is a really pretty Agave which is what attracted me to it in the first place.

Saturday, December 13, 2014

2014: Adromischus Collection

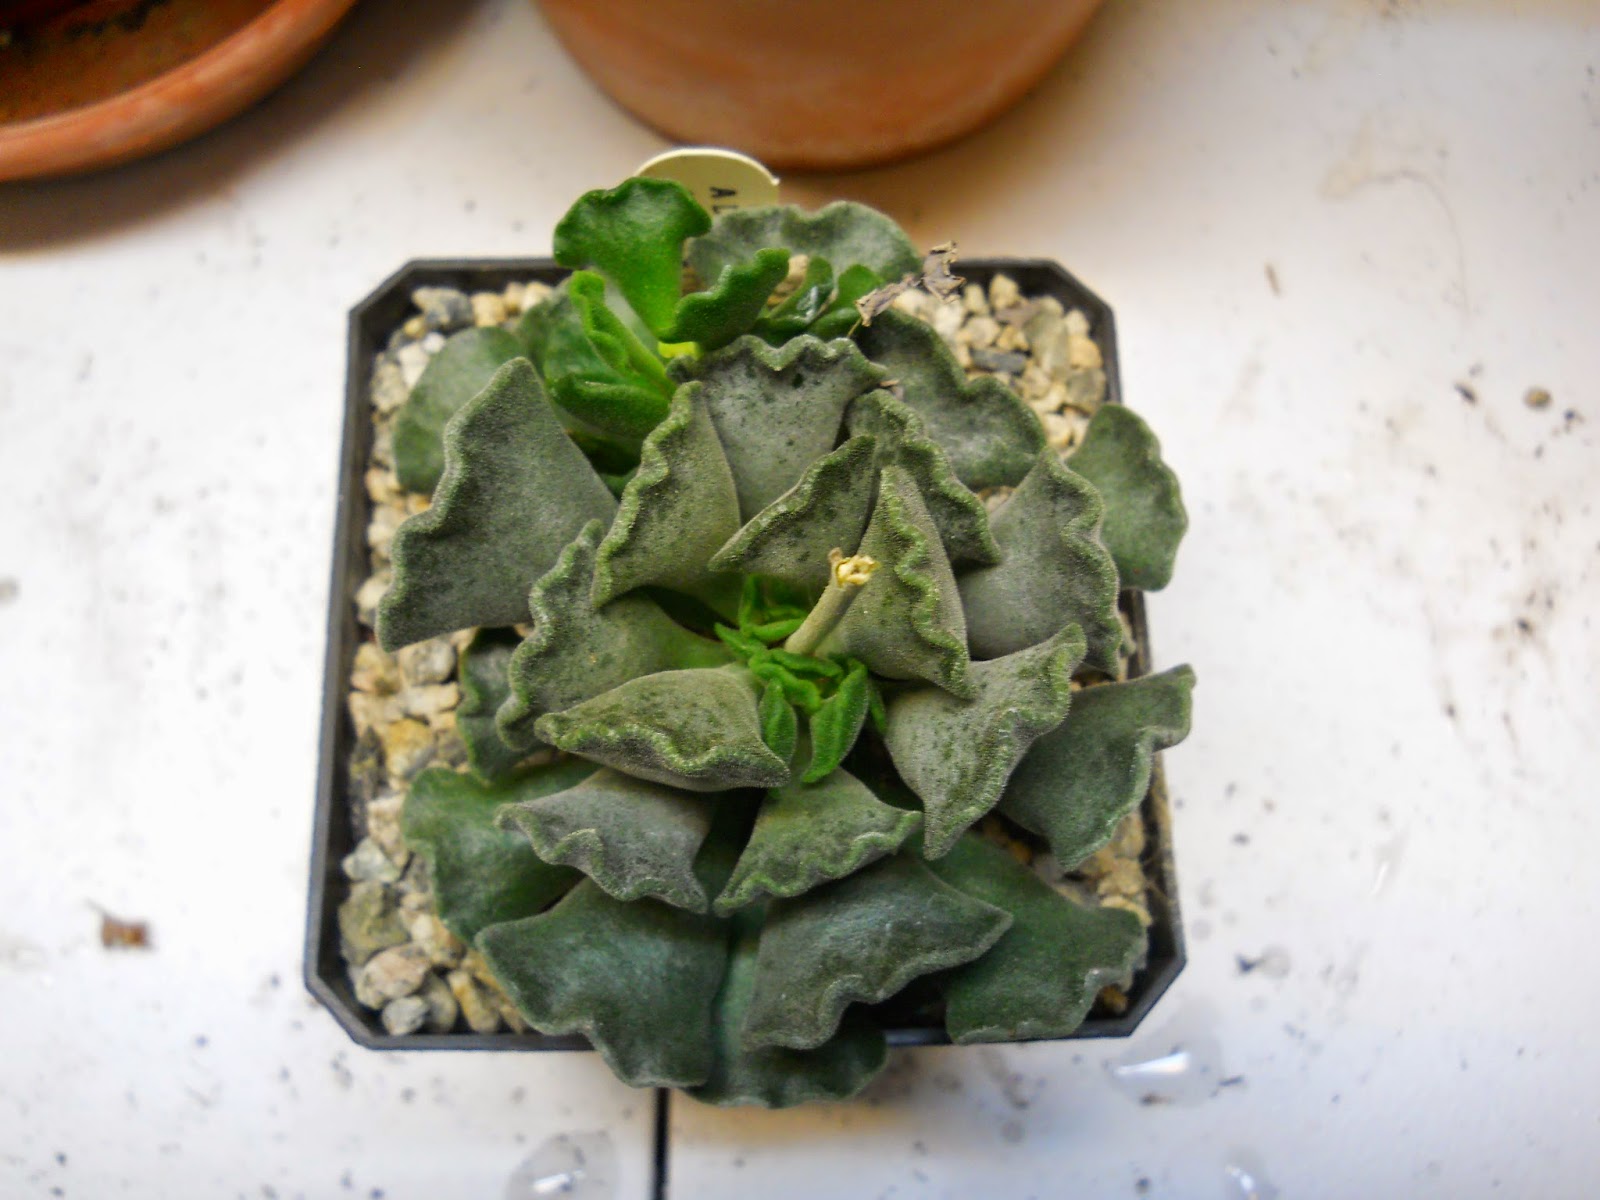
Since it's the end of the year, I thought it would be a good idea to photograph all of my indoor plants to see their progress over the past year and to properly catalogue them. So the next series of posts will be focused on my indoor collection. My plan is to group them by genus; if I only have one plant in a genus I'll either post it alone or with a group of similar plants. This post is about Adromischus.
 This is Adromischus cristatus. The leaves feel kind of puffy, like little pillows. This plant flowered shortly after I bought it, and you can see that it is making a pup on one side.
 This is Adromischus mariane. It is mottled brown and grey for the most part. It also flowered profusely this year, and then started growing new leaves, which are greener. It has kind of gotten floppier as it has grown.
 I know this is an Adromischus but I have forgotten the species. It also flowered once this year.
This is the very first Adromischus I bought, and I have also forgotten its species name. It has never flowered for me. However, it has grown quite a lot since I bought it and is continuously making new leaves. It's currently in a pot with a sedum hybrid but I will probably move it into its own pot soon.

Monday, December 8, 2014

How to Make Ground Cherry Jam

Ground cherries were a new plant for me this year. I only had one plant and it flourished, so next year I will aim for more. I saved my harvest all season to make jam. Here's how I did it!
 This is what my harvested ground cherries looked like, still in their husks. The husks dry and get papery. Ideally they will all be a yellowish color, but I grabbed my last harvest when it started to freeze, so a few of them stayed green.
 The first thing to do is husk them all. I got about a cup of ground cherries from this harvest. Just enough to make some jam, but this is why I'll grow more next year. The yellow ones are the most ripe but the green ones taste fine too, at least I think so!
 Next I boiled the ground cherries with 1/4 cup of water, 1/8 cup of lemon juice, and 1/3 of a box of pectin. Once the ground cherries started to burst, I mashed them as well as I could and then added 3/4 cup of sugar and stirred it all together. It starts to gel pretty quickly.
 Once it's all gelling, I poured it into this freezer safe container. It's about a half pint, I think. Doesn't that look tasty?
There it is, all golden and tasty! I froze this and will be able to use it all winter. It's perfect for getting that tomato taste in an easy to use jam!